How to Create and Schedule a New Event
Made by Roger Minton with Scribe
Sign In
1. Navigate to https://app.kringletracker.com/signin
2. Click the “Email address” field.

3. Click “Sign in”

Go To The Events Manager
4. Click “Events”

5. Click “Add New”

Create The Event
6. Enter a name for this event

Tip: Event Status helps you understand what stage your event is at.
Event Types help you categorize your events
7. Choose the Status and Event Type

8. Choose the Client
Start by typing in the box and the system will show results from your client list.
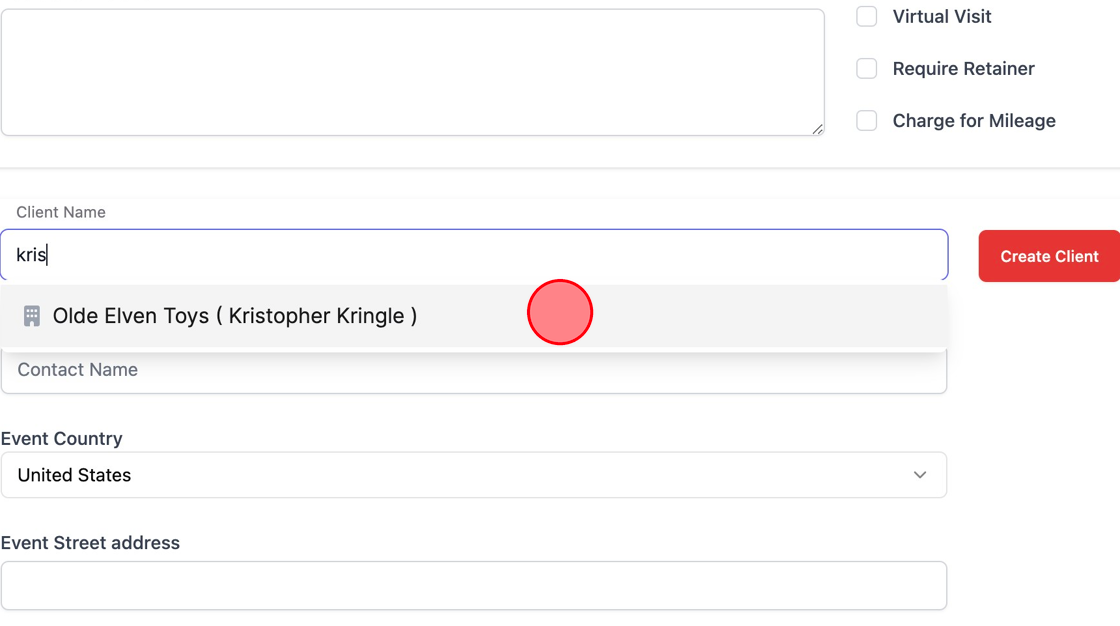
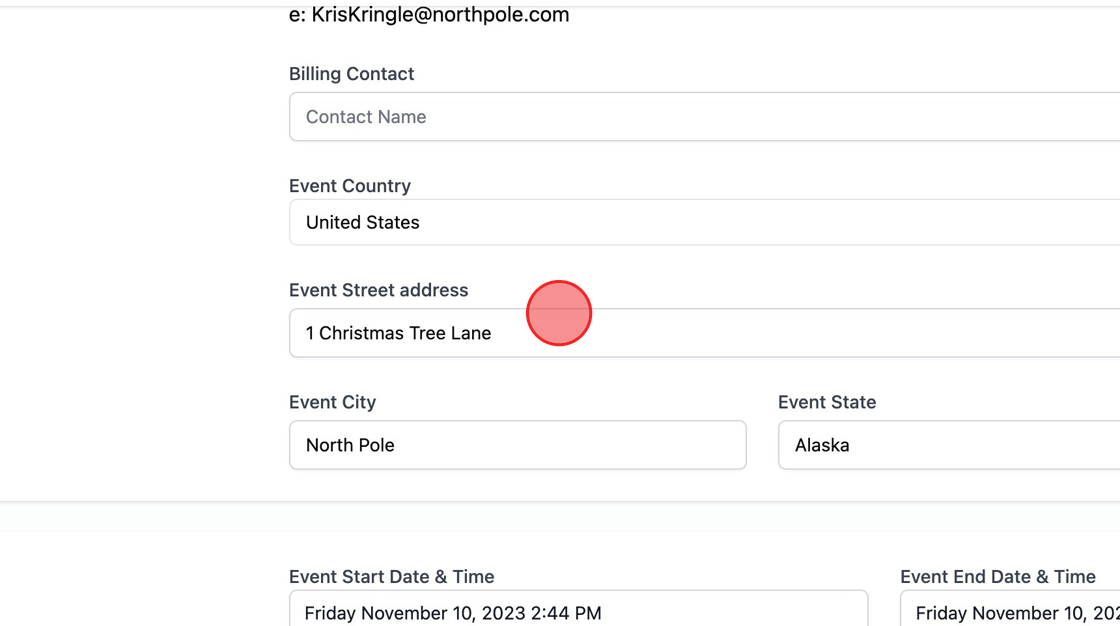
Tip: The Event Address will auto populate with your client’s address first. You can change it, if needed.
Changing this address will not update your client’s address.
9. The Event Address
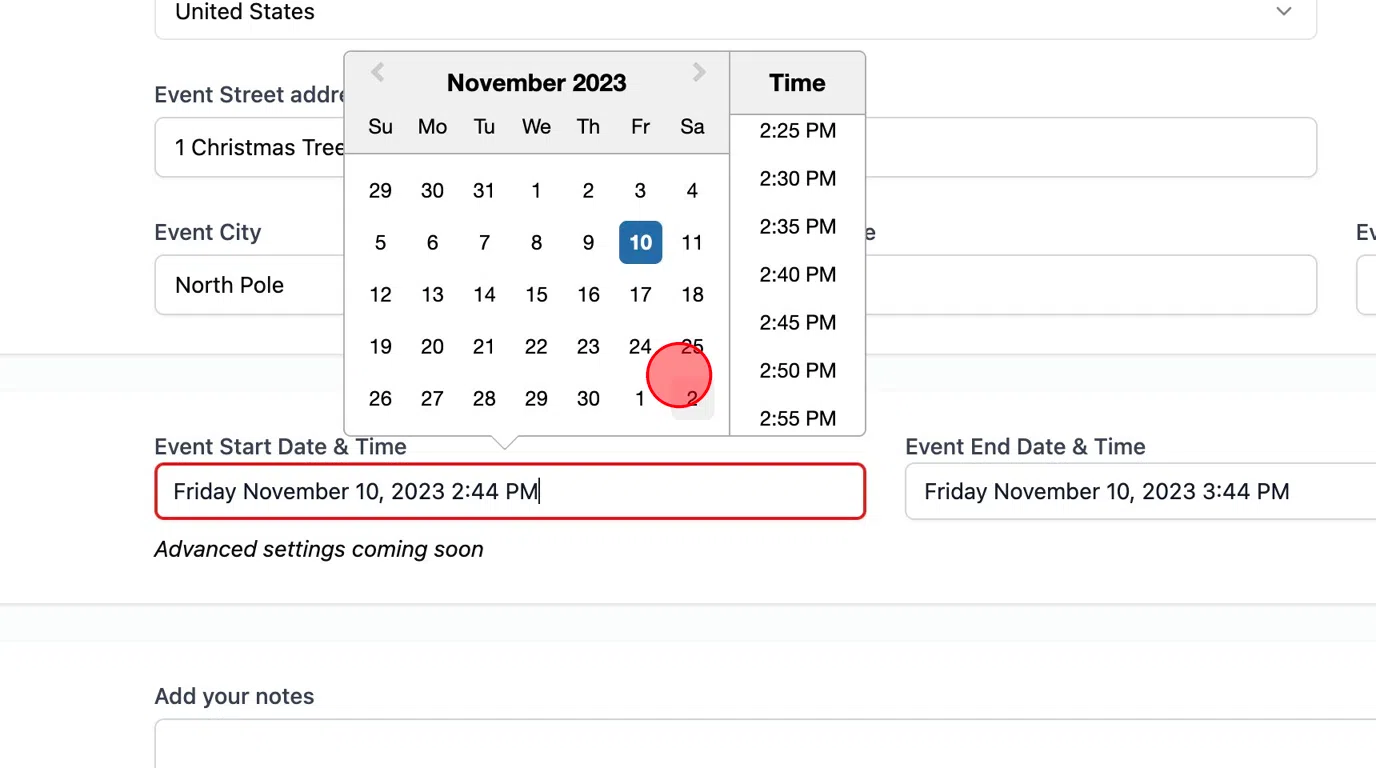
Add Event Date and Time
10. Choose the Event Date and Time
If your event has multiple date and times, you will be able to add more dates after the event has been created.
Tip: Tip!
Private event notes will only be shown to you and not on any client facing documentation. They are for your reference only.
11. Enter Private Event Notes
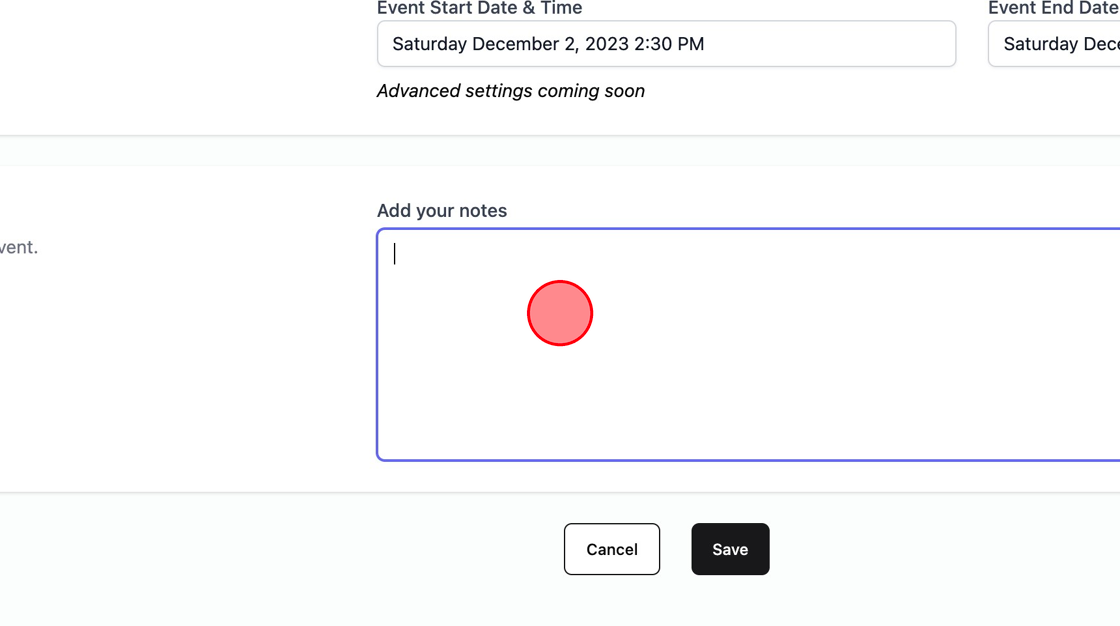
Save Event
12. Click “Save”

13. Click “Close”

