Made by Roger Minton with Scribe
This guide provides step-by-step instructions on how to create and add new invoices in Kringle Tracker It highlights the importance of assigning an event and a client to each invoice, and provides tips for adding line items. It is a useful resource for anyone who wants to efficiently manage their invoices using Kringle Tracker.
1. Navigate to https://app.kringletracker.com/dashboard
2. Click “Invoices”

3. Click “Add New”

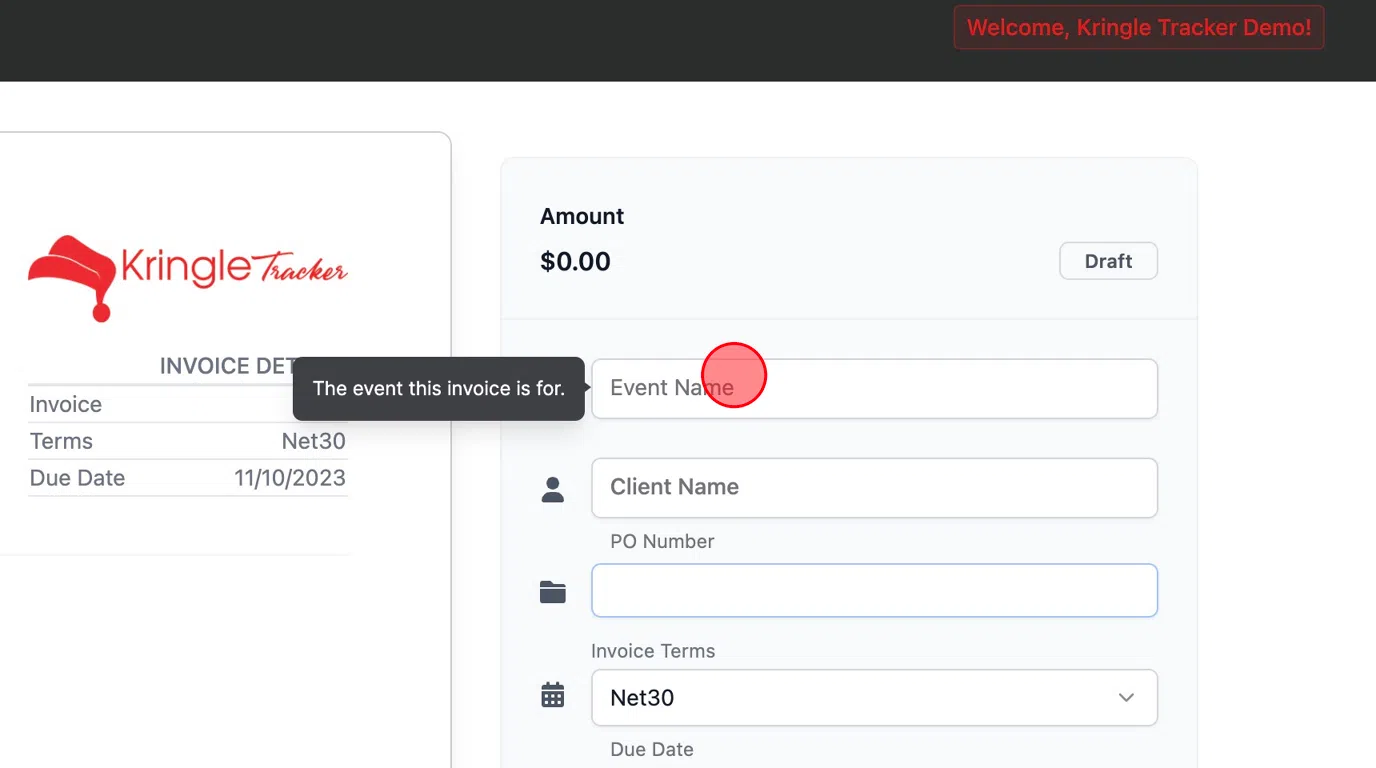
Assign to an Event
Tip: Tip!
An invoice does not need an event, however it DOES NEED a client.
4. Search for your event by clicking in the event field
If you choose an event, it will automatically assign the client for you.
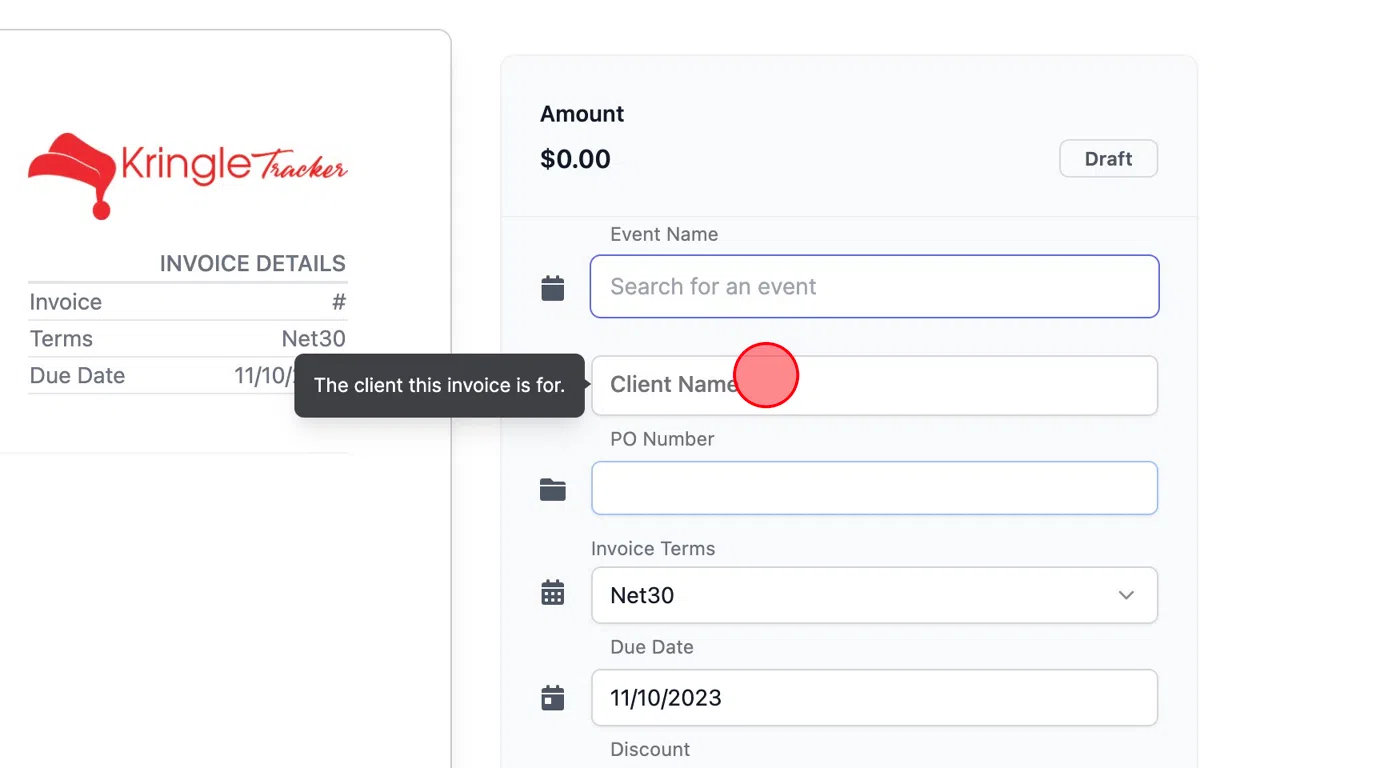
Assign Client
Alert: An invoice MUST have a client associated with it.
5. Click the “Client Name” field.
Click here.
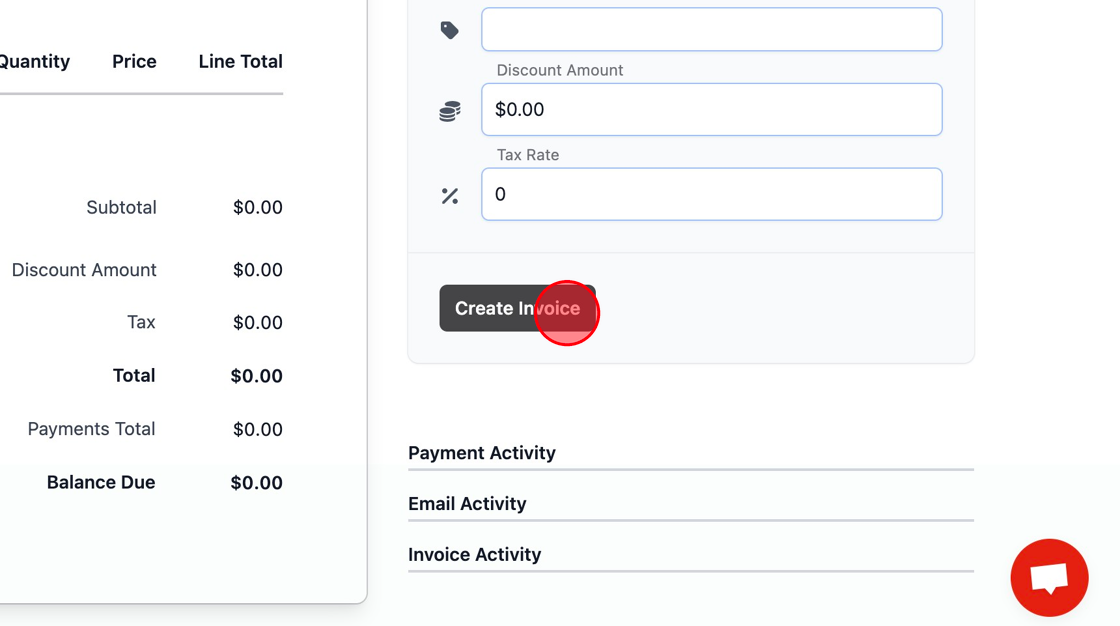
Save Invoice
6. Click “Create Invoice”
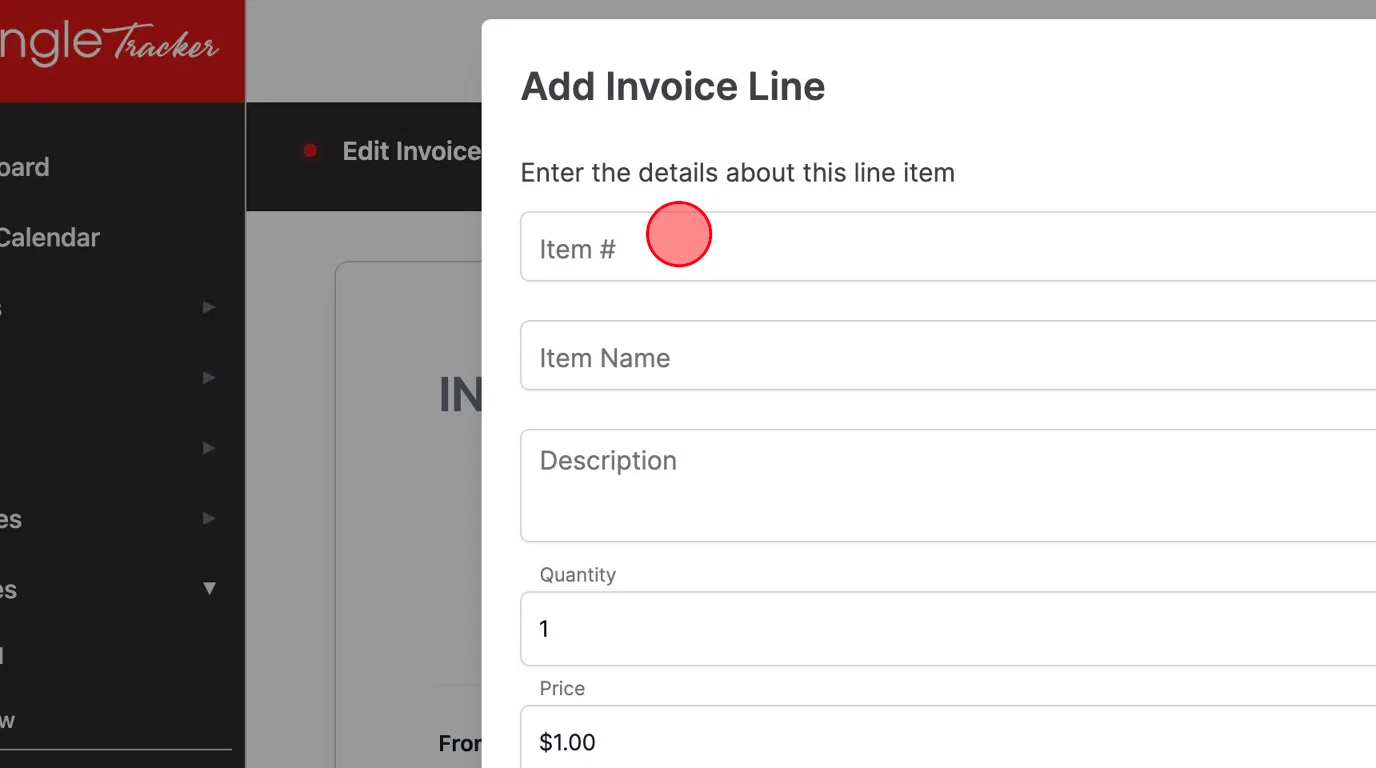
Add Line Items
7. Click “+ Add New Line”

Tip: Tip!
The item number field is required, and is required to be at least 3 digits.
8. Enter Line Information
9. Once saved, the invoice will be updated with the proper total
