Made by Roger Minton with Scribe
This guide explains how to customize the appearance of the Kringle Tracker Lead Widget. It provides step-by-step instructions on how to sign in, navigate to the account settings, and modify various aspects of the widget’s appearance, such as the header, logo, background color, text color, and custom text.
Sign In
1. Navigate to https://app.kringletracker.com/dashboard
2. Click on your User Account Profile Photo in the upper right hand corner

3. Click “Account Settings”

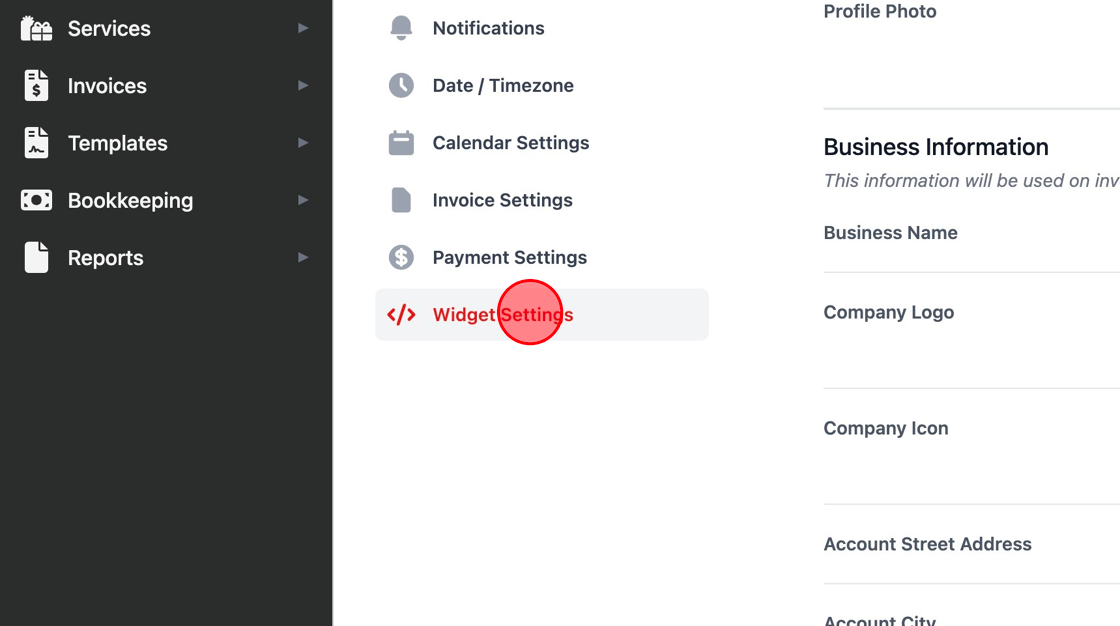
4. Click “Widget Settings”

Widget Header
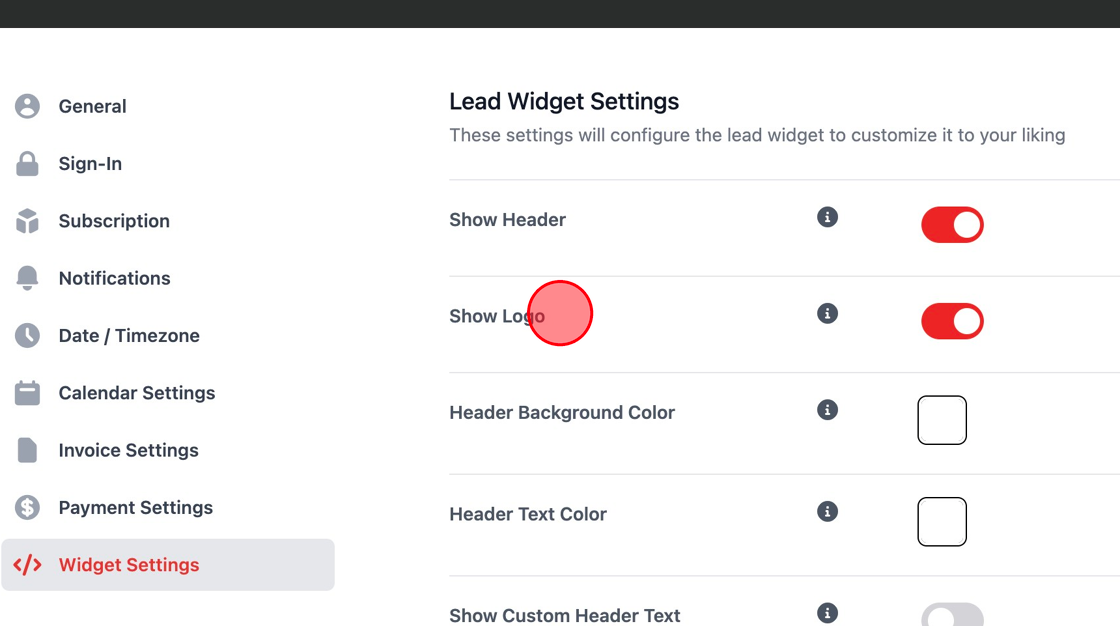
5. “Show Header”
This will show or hide the header of the lead widget

Widget Header Logo
6. “Show Logo”
This will show or hide your company logo in the header of the lead widget.
If “Show Header” is turned off, this logo will not show.

Widget Header Background Color
7. “Header Background Color”
This allows you to customize the header color for your lead widget to match your website.

Widget Header Text Color
8. “Header Text Color”
This allows you to customize the header text color for your lead widget to match your website.

Widget Header Custom Text
9. “Show Custom Header Text”
This will allow you to customize the text that is shown in the header of the lead widget

10. “Custom Header Text”
This allows you to change the default text in the header

Widget Event Time Configuration
11. “Time Intervals”
This allows you to change how the calendar widget displays the time selector in the date fields on the lead widget

Widget Preview
12. Preview The Lead Widget
Below the options the lead widget will show you how it looks as you configure each option above.
